


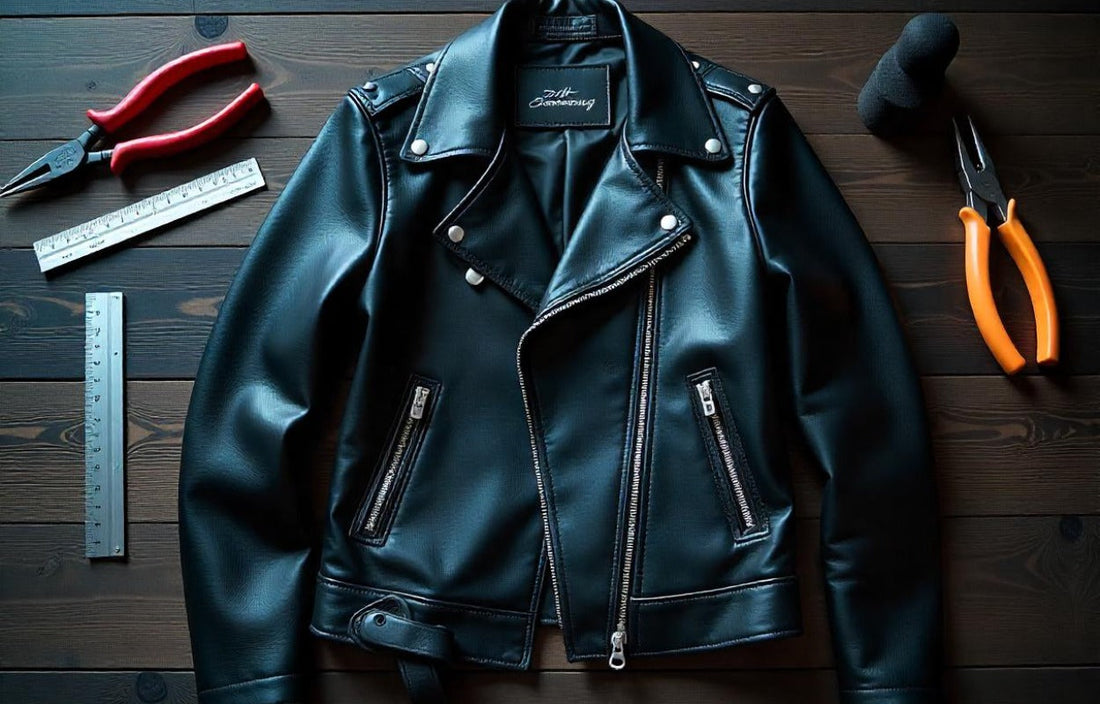
How to Make a Studded Leather Jacket Without Damaging the Leather
A studded leather jacket is more than just a fashion piece—it’s a bold statement. Whether you're inspired by punk rock rebellion, gothic aesthetics, or street wear edge, studs can transform a plain jacket into something uniquely yours. The good news? You can safely add studs to your jacket without compromising its quality—if you follow the right method. This guide walks you through everything you need to know.

🛠️ What You Need to Know Before You Start?
Before you even think about studding your leather jacket, it’s crucial to understand exactly what type of leather you're working with. Soft lambskin leather, for instance, is lightweight, buttery, and stylish—but also extremely delicate. It can easily stretch, tear, or show permanent marks if you're too aggressive with your tools. On the other hand, thick cowhide or buffalo leather is more forgiving, durable, and ideal for heavy-duty studding projects. This knowledge helps you determine how much force to apply, what tools to use, and where on the jacket you can safely install your hardware without damaging the material. Equally important is selecting the right type of studs for both function and style. Dome studs offer a more classic, rounded look, while pyramid studs deliver a sharp, bold edge. Spikes are perfect for punk or metal aesthetics, but they’re more likely to catch on fabrics and surfaces. Depending on the design you have in mind, certain studs may suit specific areas better—flatter studs on shoulders or sleeves, and taller spikes or cones along the back or collar for drama. Regardless of shape or finish, always invest in high-quality metal studs specifically crafted for leather work. Avoid cheap, mass-produced alternatives often found in bulk craft kits—these frequently have flimsy prongs that bend easily, break during application, or worse, tear straight through your jacket. Quality hardware doesn’t just look better—it holds better, lasts longer, and preserves the integrity of your garment.

✍️ Design Comes First
Never begin adding studs without a clear and thoughtful design plan—this is one of the most overlooked yet essential steps in customizing a leather jacket. Many people rush into studding, only to regret misaligned placements, poor spacing, or even damaged leather. Think of your jacket as a blank canvas, and the studs as your medium. Like any great piece of art, it all begins with a well-planned composition. Without a vision, it’s easy to overdo it or create a layout that doesn’t flow with the jacket’s natural structure or your personal style. Start by laying your jacket completely flat on a clean, sturdy surface like a table or workbench. Make sure the leather is smooth and free of creases that could distort your measurements. Use tailor’s chalk, a fabric pencil, or a washable marker to lightly sketch your intended pattern. For symmetrical designs—such as parallel rows of pyramid studs across the shoulders, or mirrored arrangements on each lapel—a ruler or measuring tape is a must. Mark evenly spaced points before punching any holes. This level of precision can make the difference between a professional-looking piece and something that feels randomly thrown together.

If your goal is more in line with freestyle punk aesthetics, don’t be afraid to get creative with asymmetry and unexpected placement. Mix stud types, vary the spacing, and play with patterns—just be intentional with every choice. Still, be aware that the more holes you punch, the greater the risk of weakening or stretching the leather. Always keep in mind that leather doesn't forgive like fabric does; once a hole is made, it’s permanent. To avoid regret, use masking tape or painter’s tape to block out lines, shapes, or sections before you make your first real mark. This not only helps you visualize the layout in real proportions, but also protects your jacket from mistakes without leaving behind any residue.
✂️ Creating Slits the Right Way
Once your design is finalized and you're confident in the layout, the next critical step is preparing the leather to receive the studs. This is where technique truly matters—because improper cutting or hole placement can permanently damage your jacket. Avoid the temptation to punch large holes, as this often leads to stretched leather, poor stud fitment, or tears that ruin both the look and structure of the garment. Instead, aim to create small, clean slits that are just large enough to slide the stud prongs through snugly without stress on the material. To do this properly, use a leather awl—a pointed, needle-like tool specifically designed for precision punctures in leather. It lets you apply controlled pressure and create clean entry points without overcutting. If you don’t have a leather awl, a sharp craft knife, seam ripper, or small leather punch can also work, but proceed carefully. With knives or blades, always make your cuts in short, shallow motions to avoid accidentally slicing too deep or wide. The goal is control—not speed.

Work slowly and deliberately. Rushing through this step can easily lead to mistakes that are difficult, if not impossible, to fix. If your cut is too large, the stud might not grip the leather properly, which can cause it to shift, loosen, or even fall out over time. Worse, an oversized or jagged cut increases the risk of tearing the leather further, especially around areas that experience movement or stress, like the shoulders or elbows. Another important tip: make sure you're only piercing the outer leather layer, not punching through the full thickness of the jacket or damaging the inner lining. You don’t want to create visible holes on the inside or interfere with the jacket’s structure and comfort. If your jacket has a lining, gently lift or separate it before cutting, or work from between the layers if possible. Taking the time to prepare your base material correctly ensures a longer-lasting result and gives your custom jacket a cleaner, more professional look.
🔩 Securing the Studs
With your slits carefully made, it’s time for the most rewarding part—inserting the studs and seeing your design come to life. Start by selecting your first stud and gently pushing the prongs through the front side of the leather, aligning them with the pre-cut slits. It’s important to go slowly and guide each prong through evenly to avoid bending them or stretching the leather. The fit should feel snug but not forced. If the prongs don’t go in easily, double-check the alignment of your slit and make sure it’s just wide enough—not torn or too small. Once the stud is in place and sitting flush against the leather surface, flip the jacket over so you’re looking at the inside. Here, you’ll need a sturdy pair of flat-nose pliers (preferably with smooth jaws) to bend each prong inward. Press one prong down firmly but gently, then do the same with the other. Be careful not to bend them at awkward angles or too quickly, as this can weaken the metal and cause it to snap or loosen over time. The goal is to fold both prongs securely down so they lay flat against the inner leather without piercing through or shifting around.

Take a moment to feel the area from the outside and inside—the stud should feel tight, smooth, and stable. There should be no movement or bulging. It’s also essential to make sure the prongs aren’t sticking up or pressing out in a way that could poke your skin or irritate you while wearing the jacket. Poorly bent prongs not only cause discomfort but also risk pulling on the slit over time, which can stretch the leather and shorten the lifespan of your work. To avoid scratching the leather or your fingers while pressing down the studs, it’s smart to wear gloves or place a soft cloth over the leather and your hand during this process. This adds an extra layer of protection—especially when working close to delicate finishes or softer leather types like lambskin. Continue adding your studs one by one, checking for alignment and tightness every few placements. This step-by-step care will give your jacket a polished, professional look while maintaining its structural integrity
⚠️ How to Avoid Damaging Your Jacket
Before you begin adding studs to your jacket, it’s essential to take steps to protect the leather and ensure your tools and techniques won’t cause accidental damage. One of the smartest things you can do is to test your tools on a scrap piece of leather—preferably of the same type as your jacket—or on an inconspicuous area inside the jacket, such as beneath the lining or on the inside hem. This testing phase helps you get a sense of how much pressure to apply when making slits and inserting studs, and it allows you to adjust your grip, tools, or technique before you commit to visible areas of the garment. Be especially cautious when working around seams, zippers, snap closures, or natural folds in the leather. These sections are often reinforced, layered, or pre-stitched, making them harder to pierce cleanly and more prone to damage. Studding near seams can also compromise the jacket’s structural integrity by weakening the stitching or overloading an already tension-prone area. If you're unsure whether a spot is safe for studs, it's usually best to avoid it or consult a leatherworking reference for guidance.

Also, while it’s tempting to go all-in and cover your jacket in rows of dazzling metal studs, it's important to know that too many studs—especially in softer leather like lambskin—can put unnecessary stress on the material. Heavily studded areas, such as the shoulders, collar, or sleeve cuffs, can start to sag, warp, or tear over time if the weight isn’t properly balanced across the jacket. The key is to create a layout that enhances the design without overwhelming it. Stick to a well-balanced design that works in harmony with the jacket’s natural shape, cut, and drape. A thoughtfully placed studded accent can have far more visual impact than overloading every surface. Distribute studs evenly, avoid clustering too many in tight spaces, and let your pattern follow the jacket’s silhouette for a custom look that feels intentional and wearable. Remember: the best customizations highlight the jacket’s natural strength and style, not fight against them.
🧴 Caring for Your Studded Leather Jacket
Once your studs are securely in place, leather care becomes even more essential to maintaining the look, structure, and longevity of your customized piece. Studs and spikes add weight and texture, which can affect how the jacket hangs, creases, or ages over time. Always store your jacket on a wide, padded hanger—not a thin wire or plastic one—to preserve its shoulder shape and prevent sagging. Padded hangers also help prevent dents or impressions from the studs pressing against other parts of the jacket or the lining. Avoid hanging it in cramped spaces where the studs might rub or snag on nearby garments. Never fold your jacket, especially after adding hardware. Folding can cause studs and spikes to press into the leather surface, potentially creating permanent creases, indentations, or scratches that ruin the smooth finish. If you're traveling with your spiked leather jacket, use a garment bag and keep it hanging whenever possible, or pack it in a way that minimizes pressure on studded areas.

In terms of cleaning and conditioning, be extra mindful. Use only leather-safe products and avoid getting moisture or cleaning solutions on the metal studs, as this can lead to rusting or tarnishing over time—especially on lower-quality hardware. Wipe the studs gently with a soft cloth to remove fingerprints or buildup, and consider using a leather conditioner on untreated areas to keep the material supple and crack-free. Adding studs to your leather jacket is more than a fashion upgrade—it’s a personal expression and a creative statement. Whether you're going for a full-on punk rock transformation or simply adding a few well-placed accents for an edgy vibe, this DIY approach allows you to create a truly one-of-a-kind garment that reflects your style. With a thoughtful plan, the right tools, and a bit of patience, you can achieve a bold, professional look without damaging your jacket. Take pride in your customization and wear it with confidence—you’ve just turned a classic piece into something uniquely yours.
